

If you want to take a screenshot of your screen, an app window, or a selective place on your screen, and don’t know how then this post is for you.
The Windows 11 OS comes with a Snipping Tool, formerly known as “Snip & Sketch.” This snipping tool allows you to capture and edit screenshots on your Windows PC. However, there have been reports that the Snipping Tool goes missing when updating to Windows 11.
If you are experiencing a similar issue, this guide post will show you how to restore and install the Snipping Tool.
[toc]
What is the Snipping Tool
Snipping Tool is a Microsoft utility used to capture the screen. It is capable of capturing the entire screen, portions of the screen (like app windows), or any custom shape on the screen. The Snipping Tool comes preinstalled with Windows and can be run by pressing the Windows Key + Shift + S shortcut keys.
The captured screenshot is then saved to the clipboard and can be edited using the Snipping Tool’s editor.

The Snipping Tool was previously known as “Snip & Sketch.” However, ever since Windows 11 was launched in 2021, its UI has been redesigned to be more in tone with the OS.
If your PC is missing the Sniping Tool, all you need to do is download it from Microsoft Store. But before we do that, let us go over the minimum system requirements.
Sniping Tool Minimum System Requirements
Your system must meet these minimum system requirements to be able to run Snipping Tool successfully:
- PC should be running Windows 10 version 22000.0 or higher.
- The processor you are using should be Core i5 5th Gen or later.
- RAM should be at least 512 MB or bigger.
- Available space on your PC should be at least 1GB.
Download and Install the Snipping Tool
Follow the given steps below to download and install the Snipping Tool using the method of your choice:
Using Microsoft Store
-
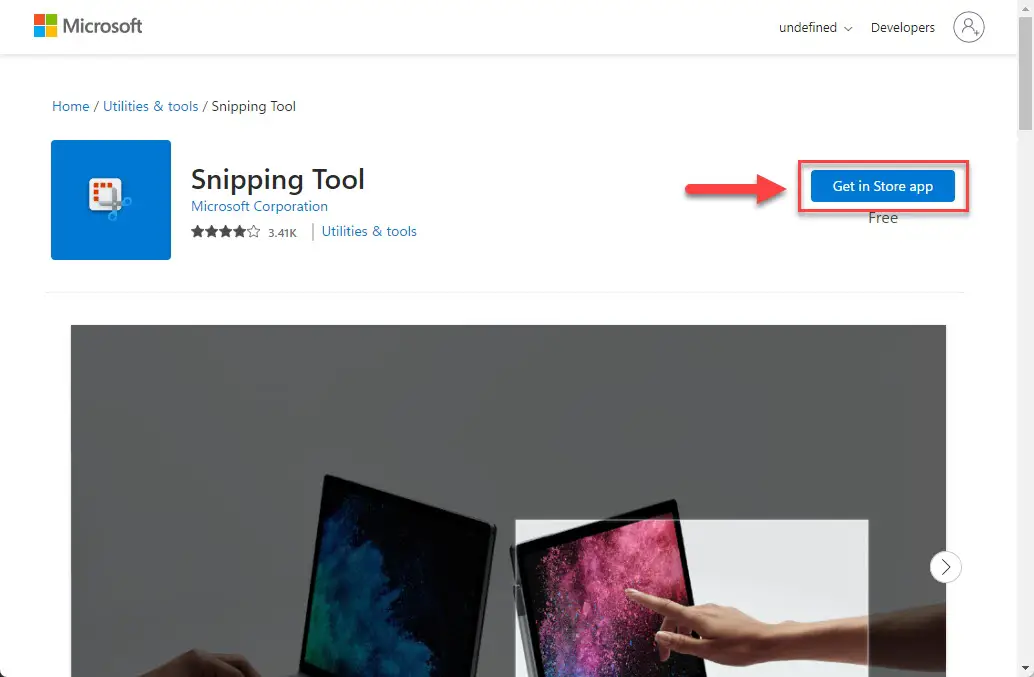
Open the official Snipping Tool Microsoft Store page using any web browser.
-
Click “Get in Store app.”
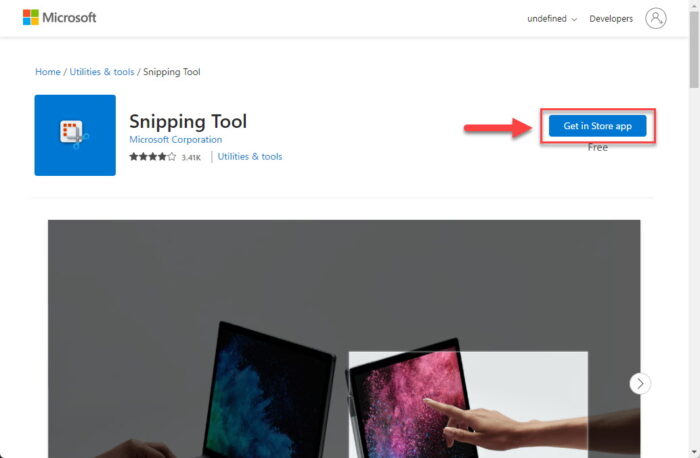
Get the app in Microsoft store -
Click “Open Microsoft Store” if prompted for permission.

Give permission to open Microsoft Store app The Microsoft Store app should now open.
-
Click “Install.”

Install Snipping Tool Snipping Tool will now begin downloading and then installing.
-
When it is installed, click “Open.”
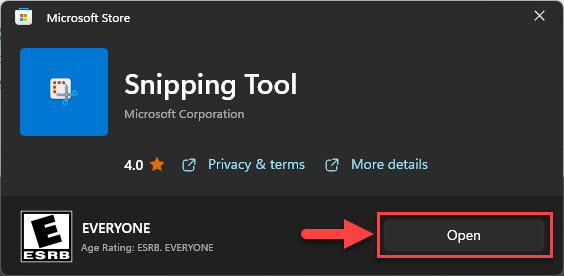
Run Snipping Tool

Using Direct Download
-
Open the Google Driver link for Snipping Tool and download the whole file.
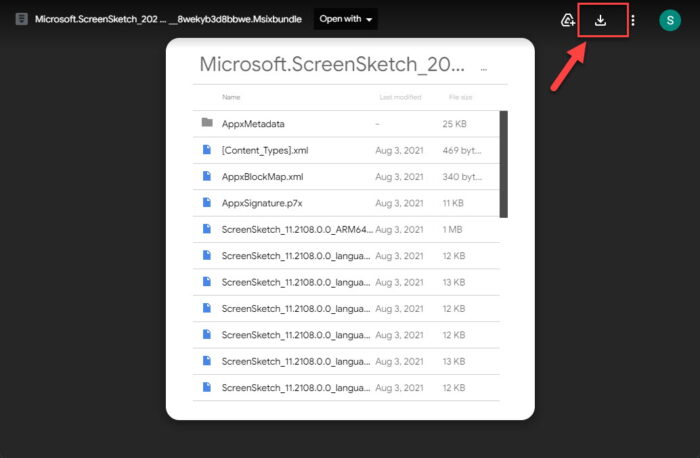
Download the Snipping Tool from Google Drive -
Run the downloaded MSIX file.
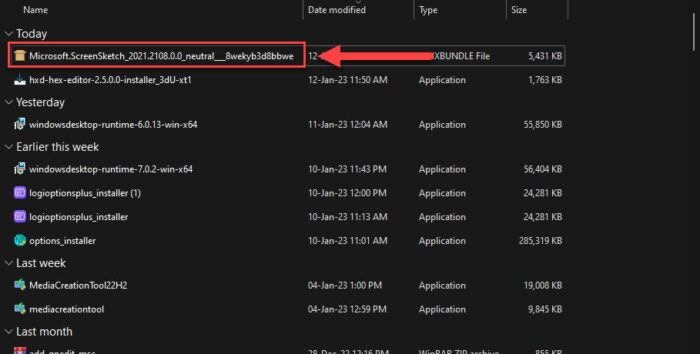
Run the downloaded Snipping Tool file The installation wizard will now launch.
-
Click “Install.”
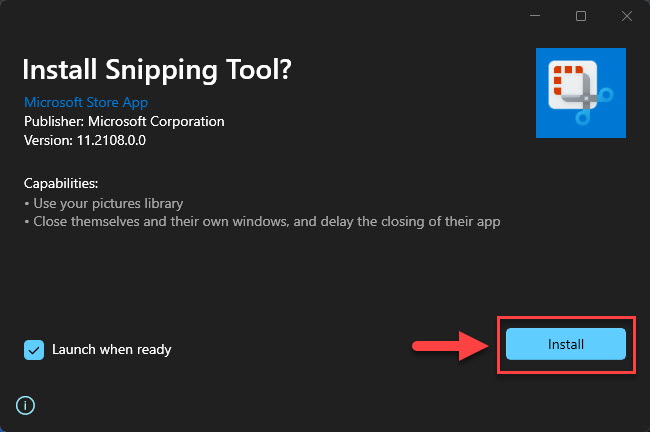
Install Snipping Tool


Snipping Tool will now install on your PC and run automatically.

How to Use the Snipping Tool
You can launch the Snipping Tool by pressing the Windows Key + Shift + S shortcut keys, or by searching for it in the Start menu.

When the tool is run, you can select which mode to choose.
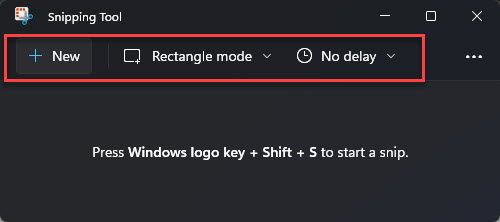
Selecting “New” will allow you to capture any selected area on the screen in a rectangle. However, you can change it to Window mode, Full-Screen mode, or Free-Form mode from the drop-down menu in the middle.
Each of these modes has a different purpose. Window mode automatically selects an entire app window, while Full-Screen mode captures the entire screen across all the connected monitors.
If you select the Free-Form mode, you can make your selection of the captured area in any shape or size. Here is an example of what we captured using Free-Form mode:

Additionally, you can also select a timer (delay) from the top menu inside the Snipping Tool using the first drop-down menu from the right. This allows you to capture the screen automatically after a certain time after the area has been selected.
Snipping Tool also allows you to save, share, and even print the captured image.
That said, if you opt to use an alternative to capture your screen, or don’t capture it at all, you can uninstall the Snipping Tool.
How to Uninstall Snipping Tool
Follow these steps to uninstall Snipping Tool in Windows 11:
-
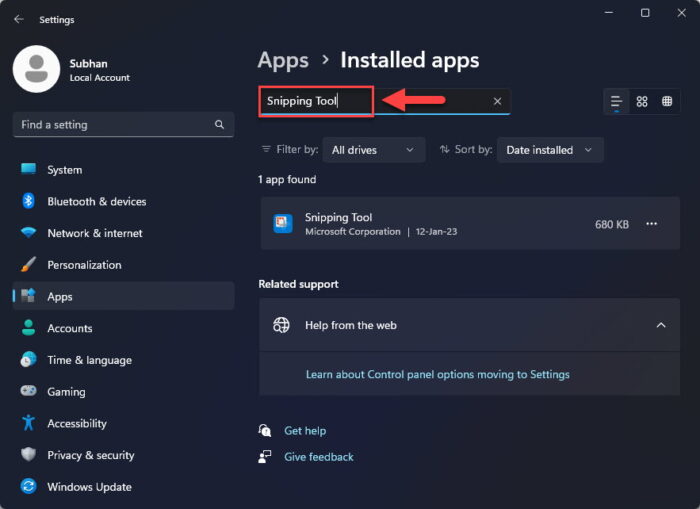
Navigate to:
Settings app >> Apps >> Installed Apps
-
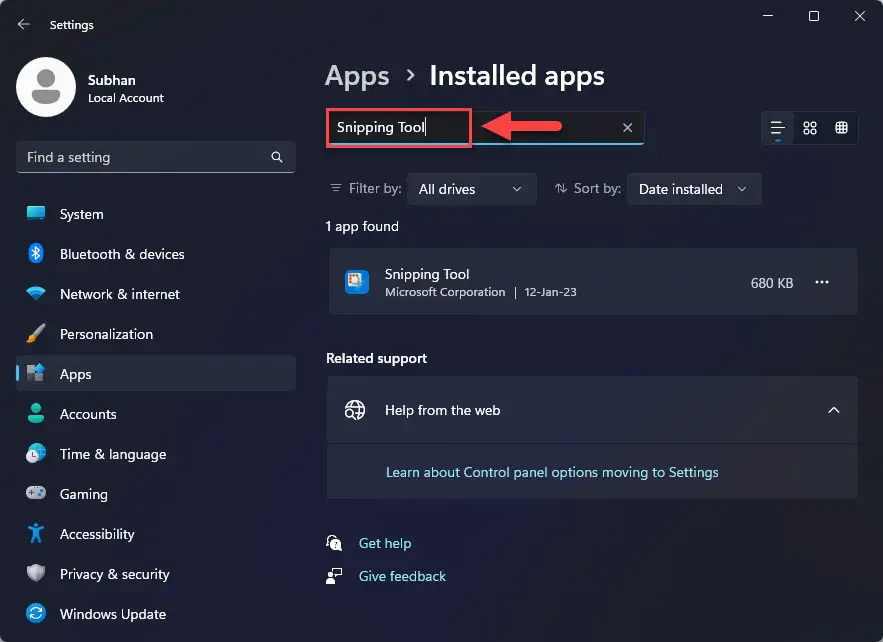
Search for “Snipping Tool.”
Search for Snipping Tool -
Right-click the 3 dots in front of “Snipping Tool.”
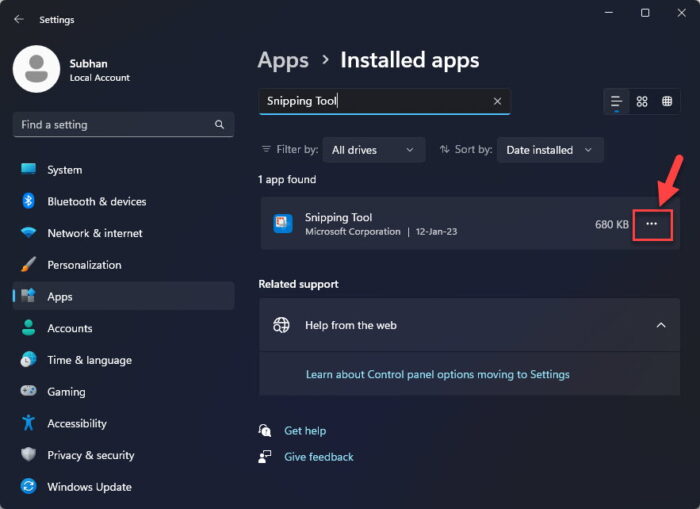
Click the ellipses -
Click “Uninstall.”
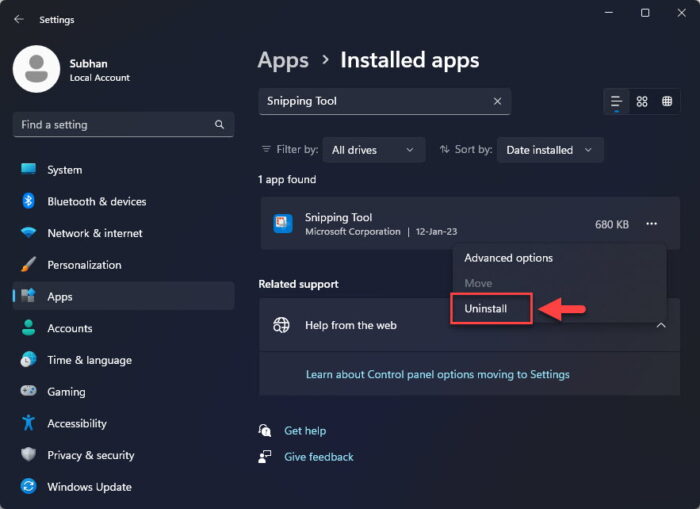
Click Uninstall -
Click “Uninstall” again.
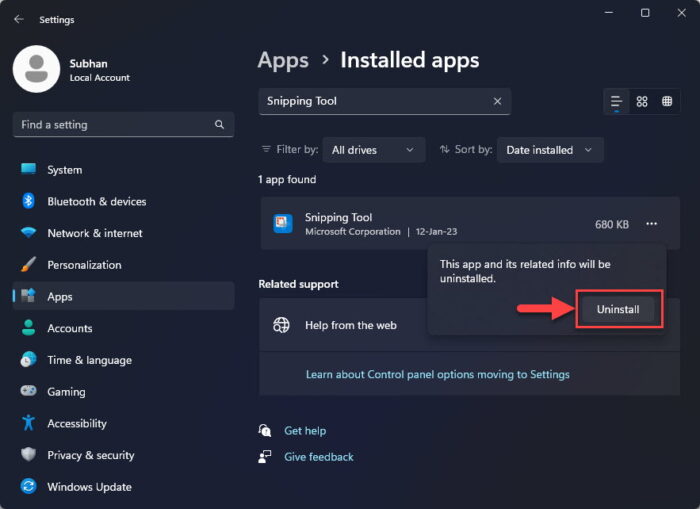
Confirm uninstallation


Snipping Tool will now be removed from your computer.
Closing Words
Snipping Tool is a convenient tool to use to screenshot, share, and save. However, there are many alternatives available today that perform the same or better than the Snipping Tool, Like Snagit, LightShot, etc. For example, we use Snagit since it has integrated shape insertions and other cool features that fit our needs.
That said, the Snipping Tool is Microsoft’s product. Therefore, it is safe to use and light on the Windows OS.
Filed under: Windows 11 | Tagged: windows tips |
